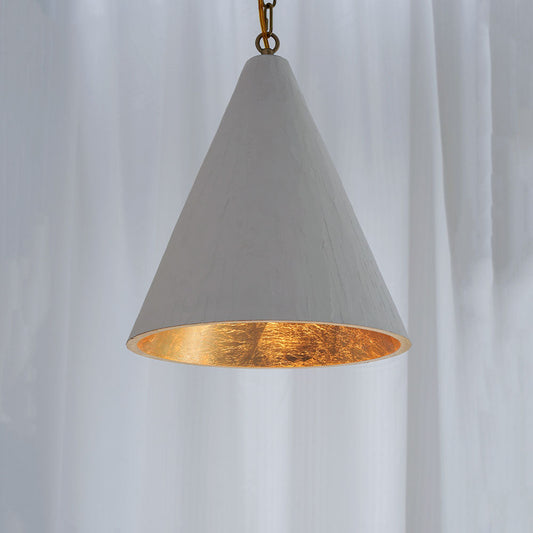

How High Should a Chandelier Hang Above a Dining Table?
For a typical 8-foot ceiling, begin with the chandelier's lowest point 30 to 36 inches above the tabletop. Treat that range as a mockup position, not an automatic installation height. Fixture size, visual weight, table height, ceiling height, seated sightlines and available suspension can move the final position.

Measure From the Table, Not Only the Ceiling
The useful measurement is from the tabletop to the chandelier's lowest element. Measuring only down from the ceiling ignores differences in table height and fixture body height. Record the tabletop height, ceiling height and complete fixture drop before deciding.
Mark 30 and 36 inches above the table on a nearby wall. Then suspend a lightweight paper outline at the proposed lowest point. View it while seated, standing, entering the room and looking from adjacent spaces.
Adjust for a Taller Ceiling Carefully
A common design guideline adds about 3 inches of clearance above the table for each foot of ceiling height above 8 feet. That makes 33 to 39 inches a starting range for a 9-foot ceiling and 36 to 42 inches for a 10-foot ceiling. This adjustment preserves the fixture's relationship to a taller room, but it is not mandatory for every design.
An open, lightweight chandelier may feel disconnected if raised too far. A dense or visually heavy fixture can remain prominent at a higher position. Light output also matters: raising a fixture changes illumination on the table.
Check the Lowest Decorative Element
Measure to the true lowest point, including hanging crystals, shades, finials, cables or uneven arms. The Addis Linear Chandelier has layered glass rods below its frame, so the bottom of the rods—not the support bar—is the reference point.
The Alabaster Rectangular Linear Chandelier has pale overlapping panels and comes in 37.4 and 49.21-inch lengths. Its listed body and pole dimensions should be combined with the desired tabletop clearance before installation.

Protect Seated Sightlines
Sit at every regular seat. The fixture should not block faces across the table or make people lean around it. Then stand at the table and check head clearance when serving, arranging flowers or cleaning.
Large centerpieces change the composition. If tall arrangements are used regularly, test them during the mockup. Do not raise the chandelier solely for one occasional decoration if that makes the fixture feel detached during everyday use.
Center the Light on the Table
When the table is not centered in the room, the chandelier usually reads best when aligned to the table. A misplaced junction box may require relocation or an approved offset solution. Any hook, canopy or support used to change the hanging point must be appropriate for the fixture and ceiling construction.
Never assume a decorative ceiling hook supports the chandelier. The electrician or installer should confirm the electrical box, mounting method, fixture weight and local requirements.
Consider Round and Linear Fixtures Differently
A round chandelier creates a central pool and focal point. A linear chandelier follows the length of a rectangular table and may need closer attention to level alignment at both ends. Multiple suspension points must be installed at the correct spacing.
The chandelier can be within the general height range and still look wrong if its width or length does not relate to the table. Use the Chandelier Size Guide before finalizing height.
Check Light Output and Glare
Turn on the intended bulbs during a temporary test when possible. Look for direct views of bright bulbs, reflections on glossy table surfaces and uneven light at the table ends. Confirm maximum wattage, bulb base, color temperature and dimmer compatibility on the exact product.
Raising the fixture may soften one viewing angle but reduce task light. Lowering it may improve table illumination but increase glare. A compatible dimmer can expand usable light levels, but it does not correct poor physical placement.
Installation-Day Checklist
- Confirm table position and final tabletop height.
- Mark a 30-to-36-inch starting range for an 8-foot ceiling.
- Adjust the mockup for ceiling height and visual weight.
- Measure the complete installed drop and lowest point.
- Check seated and standing sightlines from every side.
- Confirm center alignment, canopy and suspension points.
- Verify ceiling support, weight and electrical requirements.
- Test light output, glare and dimming before finalizing.
The best height is the one that keeps the chandelier visually connected to the table, preserves comfortable views and works with the actual fixture and room. Browse Dining Room Lighting or compare elongated options in the Linear Chandelier Size Guide.
Tags:
Previous
Chandelier Size Guide: Measure the Room, Table and Ceiling
Next
Foyer Chandelier Size and Hanging Height Guide
Related articles
Nature’s Geometric Light
Aug 16 2026
Organic Texture for Warm Interior Lighting
Aug 15 2026
Sculptural Light, Craft Timeless Home Ambiance
Aug 08 2026