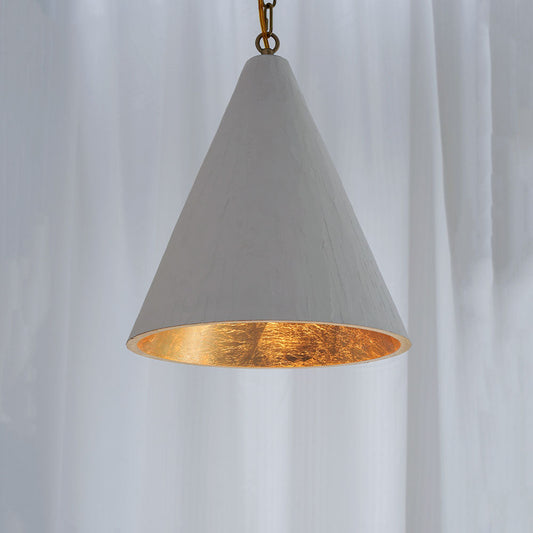

How to Clean and Care for Alabaster Lighting
For verified gypsum alabaster, use the least aggressive method: switch off the fixture, let it cool, and remove loose dust with a clean, soft bristle brush. Do not spray the surface, rub it with a wet cloth, or apply detergent, oil, or wax. Stop when dry dusting is not enough and ask the product supplier or a qualified conservator for guidance.
This cautious approach matters because alabaster can be softer and more moisture-sensitive than marble. It also matters because a lighting fixture contains electrical parts, finishes, fasteners, and sometimes adhesives that need product-specific care.

First Confirm the Material
Do not choose a cleaning method from appearance alone. Pale translucent shades may be made from alabaster, another stone, composite material, resin, or glass. A method suitable for one can damage another.
Check the current product page and documentation for:
- Exact shade or panel material.
- Surface coating or finish.
- Manufacturer cleaning instructions.
- Whether components can be removed.
- Bulb and electrical access.
If the material is uncertain, contact support before cleaning.
What the National Park Service Advises
The U.S. National Park Service publication "Care of Alabaster" describes alabaster as a fine-grained form of gypsum. It notes that alabaster is brittle, easily scratched, vulnerable to moisture, and often confused with marble.
For museum objects, the NPS recommends removing loose dust with a soft bristle brush. It warns that wiping can create static and attract more soil, while water, detergent solutions, rubbing, oils, and waxes can cause staining or surface damage. When more than simple dry brushing is needed, it recommends consulting a conservator.
Museum guidance is intentionally cautious. For a modern fixture, combine that risk guidance with the instructions for the exact product and electrical system.
A Cautious Dusting Process
1. Switch Off the Fixture
Turn the fixture off and let it cool completely. Follow the product instructions for electrical isolation. Do not clean around live electrical parts.
2. Protect the Area Below
Clear furniture and fragile objects from below the fixture. Use a stable working platform appropriate for the height. Large, heavy, or multi-part chandeliers should be handled by qualified installers rather than cleaned from an unsafe position.
3. Inspect Before Touching
Look for loose panels, cracks, chips, movement at fasteners, damaged wiring, stains, and previous repairs. Do not continue if a component is unstable.
4. Remove Loose Dust Gently
Use a clean, soft bristle brush reserved for this purpose. Keep metal parts of the brush away from the surface. Work slowly without pressing dust into seams or edges.
Do not blow compressed air into the fixture. It can move dust into electrical parts or place stress on fragile components.
5. Stop Before Wet Cleaning
Do not spray water or cleaner onto the fixture. Do not use a damp cloth, detergent, vinegar, alcohol, oil, polish, or wax unless the exact manufacturer instructions explicitly approve it for that material and finish.
If a stain remains after dry dusting, document it with photographs and request product-specific guidance.
Handle Panels and Shades Carefully
The NPS notes that alabaster is brittle and can be scratched or bruised. Remove jewelry that could contact the surface. Do not lift a fixture by a shade, panel, decorative arm, or electrical cable.
If a removable shade must be handled, follow the product instructions and support it from the intended structural points. Place it on a clean, padded, non-abrasive surface.
Watch Heat and Bulb Specifications
The NPS recommends minimizing unnecessary heat exposure for alabaster lamps and shades. For a household fixture, always follow the listed bulb type and maximum wattage. Do not use a hotter or higher-wattage bulb to increase brightness.
Check:
- Maximum wattage.
- Bulb shape and physical clearance.
- Integrated LED and driver specifications.
- Ventilation around the light source.
- Signs of discoloration, heat stress, or damaged wiring.
If the fixture becomes unusually hot, stop using it and request qualified support.

When to Seek Professional Help
Stop and request help when you find:
- A crack, chip, or loose panel.
- A stain that does not lift with dry dusting.
- Yellowing or a previous coating.
- Corroded or loose metal fasteners.
- Damaged wiring or unusual heat.
- A component that needs adhesive or structural repair.
Do not glue a broken stone component. The wrong adhesive can stain the material or make a later repair more difficult.
Care Checklist
- Confirm the material.
- Follow the exact product instructions.
- Switch off and cool the fixture.
- Inspect before cleaning.
- Use only gentle dry dusting unless approved otherwise.
- Avoid moisture, detergent, oil, wax, and abrasive contact.
- Follow bulb and wattage limits.
- Stop when a stain, crack, loose part, or electrical issue appears.
For product-specific support, keep the order number, SKU, product photographs, and images of the affected area available.
Explore current fixtures in Alabaster Lighting or read the Alabaster Lighting Buying Guide.
Source
National Park Service, "Care of Alabaster," Conserve O Gram 15/1, September 2000: https://www.nps.gov/subjects/museums/upload/15-01_508.pdf.
Tags:
Previous
Alabaster Lighting Buying Guide: Types, Shapes and Sizing
Next
Round vs Linear Alabaster Chandeliers: Which Shape Fits Your Room?
Related articles
Nature’s Geometric Light
Aug 16 2026

Organic Texture for Warm Interior Lighting
Aug 15 2026
Sculptural Light, Craft Timeless Home Ambiance
Aug 08 2026